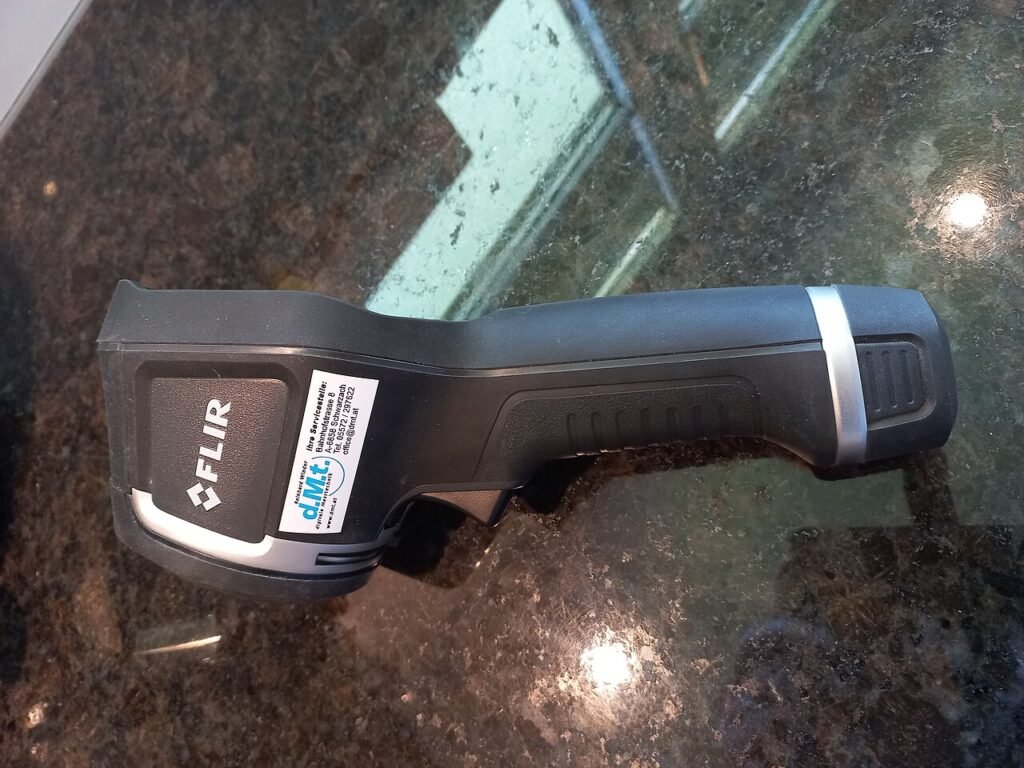
Inspection cameras help answer different kinds of questions. A visible-light borescope can show a surface reached through a suitable opening. A thermal imager can show patterns associated with infrared radiation from the surfaces it observes. Start with the question and the access available before deciding which type belongs in your kit.
Separate seeing a surface from interpreting temperature
If you need to look behind an accessible panel, inside a confined opening or around an obstruction, a probe camera may be the relevant tool. If your question concerns a surface-temperature pattern, a thermal imager may help you investigate it. These tools do not produce interchangeable evidence.
FLIR explains that thermal cameras do not see through walls; they observe the surface facing the camera. A temperature difference on that surface may suggest an area to investigate, but it does not by itself identify the cause. Keep the observed pattern separate from the conclusion you reach through other checks.
For a borescope, start with access dimensions
Measure the opening and consider the route to the area you need to view. Compare probe diameter, cable length, bend behavior and whether the tip can be directed as required. A small camera head is useful only if the cable and viewing direction also suit the route.
Check the stated focusing range and how close the lens will be to the surface. More display pixels will not correct a subject positioned outside the camera’s useful focus range. Consider whether adjustable lighting can reveal the material without washing out nearby surfaces.
Read protection ratings precisely. Klein Tools’ ET17 description, for example, specifies the rating for the camera head and cable. Do not extend a component’s rating to the display, connectors or complete assembled system unless the manufacturer explicitly does so.
Choose an integrated display or a phone connection
A dedicated display keeps the inspection view on a separate device. A phone-connected camera may fit a different documentation workflow. Check the exact operating-system and application requirements, connection method, image-saving procedure and access to the files afterward.
Klein Tools’ ET21 information describes a dedicated phone-app connection and image-sharing workflow. Treat that as model-specific information. A USB-C socket or Wi-Fi label alone does not establish compatibility with every phone or inspection application.
For thermal imaging, compare useful detail
Identify the size of the feature you need to examine and the distance from which you can observe it. Review detector resolution, lens information, focusing requirements and the manufacturer’s measurement guidance. A large display or a high-resolution visible image is not the same thing as a higher-resolution thermal detector.
FLIR’s image-mode documentation distinguishes thermal images, visible images and modes that add visible edge detail to the thermal view. That extra context can help locate a feature, but a comparison should still identify the source of the information being displayed.
Understand reflective surfaces before trusting a number
Thermal interpretation requires attention to the material and surroundings. FLIR’s emissivity guidance explains how reflective, low-emissivity surfaces can show radiation from surrounding objects rather than a straightforward measurement of the target. A striking color or spot reading should therefore be checked in context.
Record the material, viewing position and relevant settings with your image. Where a decision depends on temperature accuracy, use the manufacturer’s measurement procedure and the training appropriate to that work. Do not turn a colorful image into a confirmed diagnosis without supporting evidence.
Plan the evidence you need to save
Before buying, check whether the camera saves still images, video and any measurement information required for your workflow. Find out whether files can be exported in a usable form and whether the accompanying software is needed to inspect the recorded data.
During an inspection, capture a context image as well as the close view where practical. Use filenames or notes that identify the location and viewing direction. Keep the original file when adding labels or creating a smaller image for a report. A close-up is more useful when someone can understand what it shows and where it was taken.
- State the visible feature or thermal question you need to investigate.
- Check access, working distance and lighting.
- Verify the complete tool’s environmental and operating limits.
- Confirm display, app and export compatibility.
- Identify the additional observations needed to interpret the image.
Follow equipment instructions and the access limits of the work area. An inspection camera does not make an unsafe opening or energized component safe to approach. Choose the camera for the information it can actually capture, then preserve that information clearly enough to support the next decision.
Sources & fact-checking
Manufacturer documentation and primary references checked 2026-11-02. Specifications can depend on region, hardware revision and selected bundle.
- www.flir.com — en ca/discover/home outdoor/can thermal imaging see through walls
- www.kleintools.com — catalog/borescopes/utility borescope
- www.kleintools.com — catalog/borescopes/wifi inspection borescope
- docs.flir.com — T559954/en US/latest/s13.html
- www.flir.com — discover/professional tools/how does emissivity affect thermal imaging