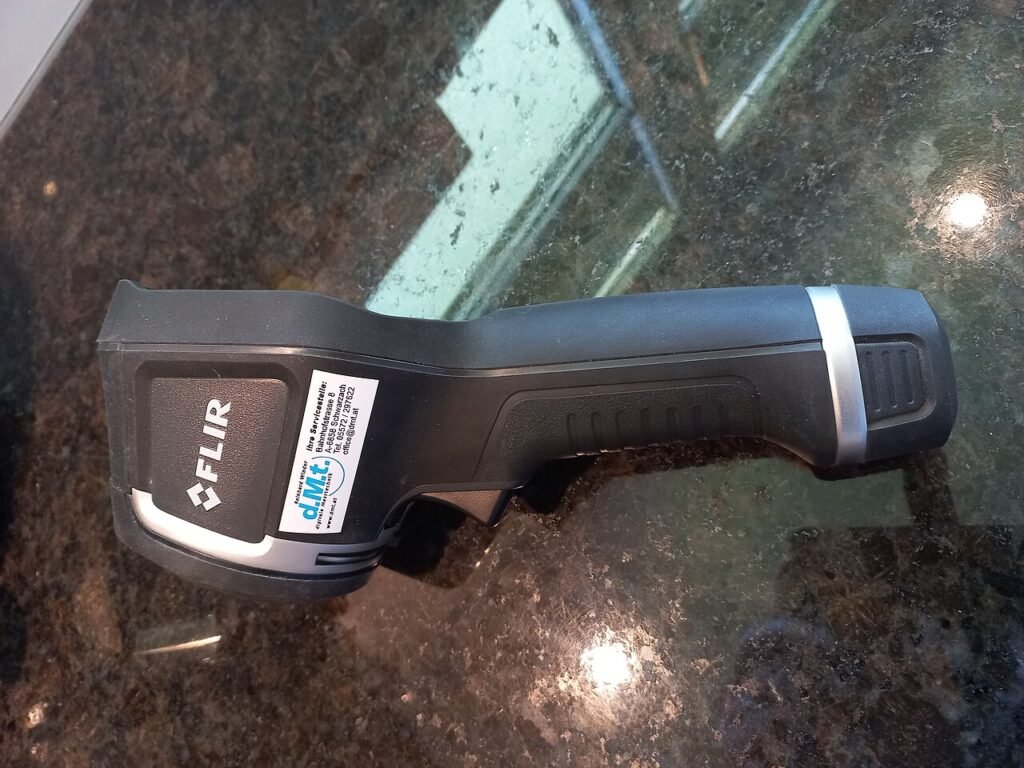
Choose a visible-light inspection camera when you need to see an accessible surface through a suitable opening. Choose a thermal imager when you need to examine an infrared surface pattern under appropriate conditions. The tools answer different questions, and some investigations benefit from both. Neither turns an image into a complete diagnosis on its own.
Write the question before choosing the instrument
“What can I see inside this accessible cavity?” is a visual-access question. “Does this surface show an unusual temperature pattern?” is a thermal question. “What caused the problem?” is a broader investigation that may require additional observations, measurements and expertise.
Separate those questions in your notes. This prevents an attractive image from being treated as stronger evidence than it is. A clear photograph can document a visible condition without establishing its cause. A thermal pattern can identify an area for closer examination without revealing the material hidden behind the surface.
What a visible-light probe camera contributes
A borescope places a small camera where the probe can safely and appropriately reach. Its usefulness depends on the access opening, cable route, viewing direction, focus range and light. Check whether the feature you care about can actually be seen from the available position.
Bosch’s GIC inspection-camera specifications list probe dimensions, field of view, focusing range and documentation options separately. Those are useful comparison fields. A resolution headline alone cannot establish that a camera will fit through the opening or focus on the nearby surface.
Choose the file workflow as well as the probe. If the observation must appear in a report, confirm that you can save and export the required image or video. Include a wider context photograph or a clear location note so the close view is understandable later.
What a thermal imager contributes
A thermal imager observes infrared radiation from the surfaces in its view. FLIR’s explanation of walls and glass makes an important distinction: ordinary thermal imaging does not see directly through a wall to identify whatever lies behind it.
Evaluate the size of the target, working distance, lens and thermal detector. FLIR’s specification guide discusses field of view, thermal resolution, sensitivity and focus. Compare those properties against the intended task instead of treating the display size as a measurement of thermal detail.
Do not confuse visible detail with thermal detail
Some cameras combine a thermal view with visible-light information to help locate edges and recognizable objects. That can make an image easier to interpret, but it does not mean every visible detail was resolved by the thermal detector.
Read the product’s description of its image modes and save the underlying information required for your workflow. When explaining a finding, identify whether the image shows a visible condition, a thermal pattern or a combined view. That distinction makes comparisons and later review more meaningful.
Consider reflections and measurement conditions
A thermal reading depends on more than where the pointer sits on the display. FLIR’s emissivity guidance explains how reflective materials can show radiation associated with their surroundings. Use the manufacturer’s procedure and appropriate training when a decision depends on temperature measurement.
Record the observed surface, location, viewing position and relevant settings. Distinguish the image you captured from the explanation you are considering. If the conclusion has consequences for repair or safety, gather the additional evidence needed for that conclusion rather than relying on the image alone.
Compare the task, access and output together
- Visible condition in an accessible cavity: evaluate a suitable probe camera and a safe route to the surface.
- Surface-temperature pattern: evaluate a thermal imager with appropriate detail and measurement capability.
- Documenting both: plan a clear location reference and separate records of the visual and thermal observations.
- Identifying a cause: define the additional checks the investigation requires.
Environmental and operating limits also belong in the comparison. A camera head’s water rating does not establish electrical insulation, chemical compatibility or a suitable rating for the display. Follow the exact tool’s instructions and do not use a camera as a reason to enter an unsafe area.
Buy for the information you can obtain
For each candidate, write the specific observation it can make from your available position and the file it can preserve. Reject a configuration that cannot reach, focus or record the required evidence, even if it has impressive specifications elsewhere. Choose the instrument for its demonstrated fit to the question, and keep conclusions proportionate to what the evidence actually shows.
Models and complete setups to explore
These researched examples illustrate the decisions in this guide. Check each exact variant, the documented limitations and the equipment it needs.
- Klein Tools ET16 Android Borescope — USB Android borescope with 10-foot gooseneck
- FLIR Edge Pro Wireless Thermal Camera — Wireless iOS/Android model, formerly listed as FLIR ONE Edge Pro
- Klein ET16 vs FLIR Edge Pro: visual access and thermal inspection solve different problems
- Inspection camera setup: choose the evidence, verify the phone and record the context
Sources & fact-checking
Manufacturer documentation and primary references checked 2026-11-02. Specifications can depend on region, hardware revision and selected bundle.
- www.bosch-professional.com — in/en/products/gic 12v 5 27 c 06012414K0
- www.flir.com — en ca/discover/home outdoor/can thermal imaging see through walls
- www.flir.com — en asia/discover/professional tools/thermal camera specs you should know before buying
- www.flir.com — discover/professional tools/how does emissivity affect thermal imaging