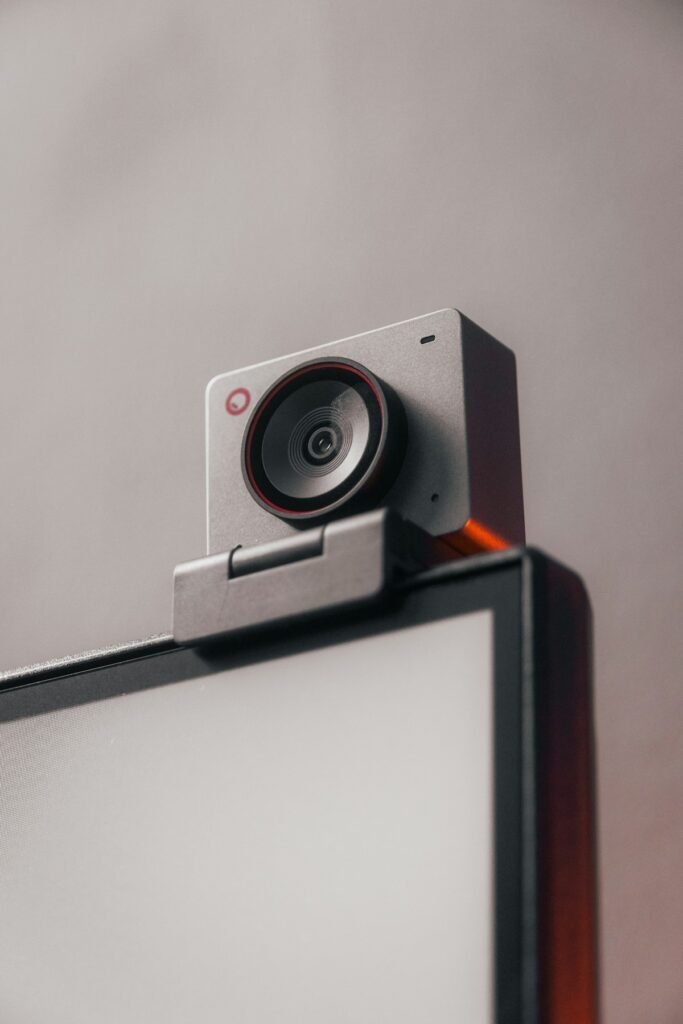
Before replacing a webcam, make a short recording with better-controlled light. That check can reveal whether the camera is the main limitation or whether the scene is making its job difficult. Work on light direction and consistency first, then adjust the settings available on your model.
Make a baseline recording
Use the application and framing you normally use. Record yourself speaking and moving your hands, then include a familiar object if you demonstrate products. Review the saved clip rather than relying only on a small live preview. Note the specific problem: dark face, bright window, grainy shadows, reflection, changing brightness or inconsistent color.
Keep the camera position and application settings unchanged while you test one lighting change. A useful comparison shows what the change accomplished. Save a quick note or image of the arrangement so you can reproduce it without guessing.
Put useful light on the subject
Look at the direction of the strongest light. If a bright window sits behind you, try changing your position or controlling that window before adding equipment. Place the main light where it illuminates the face or object the viewer needs to see.
Logitech’s setup guidance recommends paying attention to front lighting and testing the result under the conditions of the call. Use a window or a suitable lamp you already own for the first comparison. The purpose is to discover a useful direction and amount of light, not to buy a particular fixture immediately.
Control harsh reflections and distracting shadows
Move the light and watch what changes on glasses, glossy packaging or a polished product. A reflection that blocks a face or product detail often changes when the light’s position or angle changes. Adjust the source before trying to correct the problem with software.
For a small product, leave room around it so the light can be positioned independently of the camera. A broad, suitably diffused light may make reflection control easier, but the subject determines the useful arrangement. Follow the lighting equipment’s instructions and do not cover a hot lamp with improvised material.
Reduce changes during the session
Think about what will vary while you are streaming. Daylight can shift, a monitor can display very bright content and a person can move between differently lit areas. If consistency matters, arrange the scene so the main subject does not depend on an uncontrolled source that changes dramatically.
Then decide whether automatic exposure remains useful. For a fixed desk and stable light, manual controls may help maintain a repeatable result if the webcam supports them. For changing conditions, automatic behavior may be more convenient. Judge the actual transitions instead of assuming one setting is always preferable.
Adjust exposure without hiding the tradeoffs
Elgato’s Facecam image guidance explains how its exposure settings and available light relate to visible noise. Use the controls documented for your own camera. Increasing brightness in software is not equivalent to improving the light reaching the subject.
Record movement when evaluating exposure. A setting that makes a still face look brighter may produce a different appearance when hands or products move. Compare a short real demonstration, not just a motionless screenshot. Avoid copying an exact exposure value from another camera or room without checking the result.
Keep color and detail believable
Choose a familiar object and examine whether its color remains reasonably consistent as you move it into the demonstration area. Mixed light sources can make that harder to control. Simplify the lighting where possible, then use the white-balance options supported by the webcam.
Logitech’s settings guidance discusses model-appropriate software and controls such as exposure, white balance and focus. Save a working profile where supported. For product demonstrations, also check that processing has not softened the small details you need viewers to inspect.
Check the background and final framing
Keep the background useful without letting it dominate the exposure or distract from the subject. Review the frame edges for a lamp, bright doorway or reflective object that draws attention. Position the camera at a comfortable angle and check that your normal movements remain within the useful light.
For overhead work, inspect the table separately from the presenter position. One light arrangement may not serve both views equally. If you add a second camera, repeat the evaluation for its subject and angle.
Decide what equipment is still missing
After the lighting changes, record another sample under the same output settings as the baseline. If the remaining limitation is focus, framing or a missing camera control, an equipment change may now have a clear purpose. If the result already meets your needs, preserve the working arrangement and spend the budget where it adds a demonstrated benefit.
Models and complete setups to explore
These researched examples illustrate the decisions in this guide. Check each exact variant, the documented limitations and the equipment it needs.
- Logitech C920s Pro HD Webcam — Black webcam with privacy shutter
- Elgato Facecam MK.2 — Black standalone webcam
- Logitech C920s vs Elgato Facecam MK.2: a complete call setup or a separate streaming rig?
- Streaming camera setup checklist: framing, focus, USB, lighting and audio
Sources & fact-checking
Manufacturer documentation and primary references checked 2026-11-02. Specifications can depend on region, hardware revision and selected bundle.