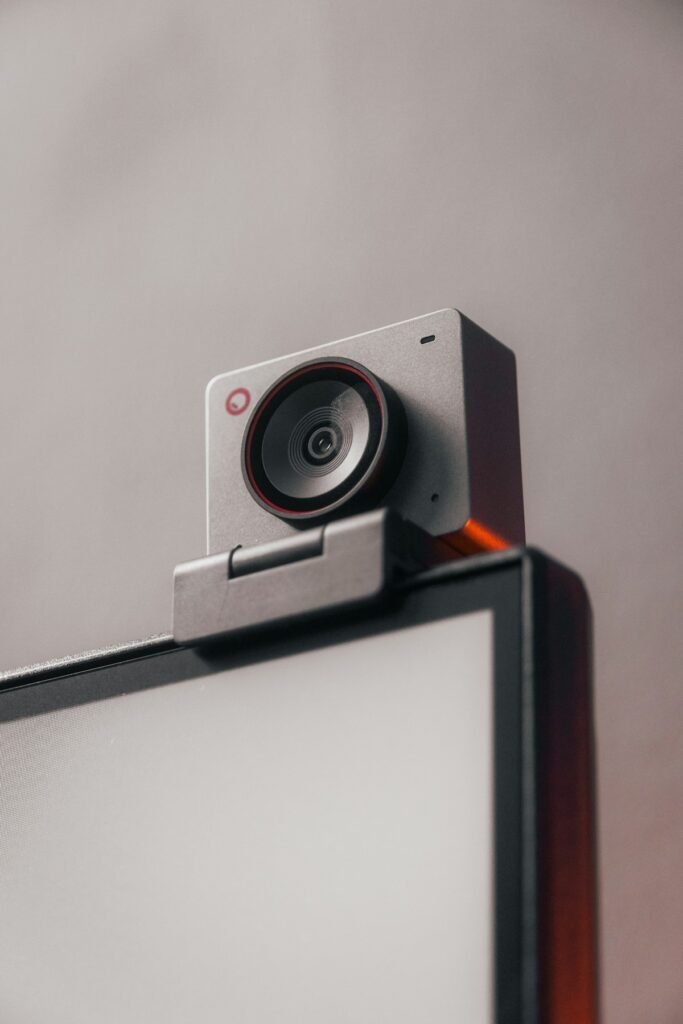
A USB-C connector describes the connection’s shape; it does not establish every function carried through it. To build a reliable streaming setup, check the camera’s supported USB mode, the cable’s capabilities, the computer connection and the application. Treat power delivery as a related but separate question.
Confirm that the exact camera supports the intended function
Find the model’s official guide and look for USB streaming, USB video or the manufacturer’s webcam workflow. Read the supported operating systems and any firmware requirement. Do not assume a camera that transfers files by USB also sends live video through the same port.
Sony’s streaming-method comparison distinguishes a native USB streaming function from a separate webcam-software route. Features such as audio and available resolution differ by method and camera. Identify the route first so that you install only the software actually required for your setup.
Read the output specification, not the connector label
List the supported resolution and frame-rate combinations for USB streaming. Compare them with what your application accepts. A mode used for internal recording may not be available as a live USB output, and an application may not expose every mode the hardware offers.
Canon’s EOS R50 specifications illustrate why separate fields matter: the page identifies its USB video support and its USB terminal characteristics. Use the equivalent model page for your camera rather than making assumptions from “USB-C” alone.
Choose a cable for both the data and power requirements
Start with the supplied or explicitly recommended cable when practical. For a replacement, verify the documented data capability, connector types, length and any required power rating. A cable sold primarily for charging may not provide the data performance your chosen streaming mode requires.
Sony’s USB-cable selection guidance discusses data-rate and power requirements for applicable cameras and modes. Those figures are model-dependent. Use the camera’s own instructions to establish the requirement instead of copying one camera’s specification to another.
Check the computer connection
Use the computer manufacturer’s documentation to identify the port’s capabilities. Consider the complete route if a hub, dock, extension or adapter is involved. Every additional component should support the required function. For initial setup, a direct connection with a known-suitable cable reduces the number of variables.
Elgato’s Facecam USB guidance discusses cable suitability and bandwidth shared with other devices. If the camera behaves differently when another high-bandwidth device is active, investigate the connection arrangement before concluding that the camera is defective.
Separate recognition, video and power problems
When the application cannot see the camera, first confirm the camera is in the required mode and connected through a suitable data cable. Check operating-system permissions and whether another application is already using the device. Follow the manufacturer’s documented setup sequence.
When the camera appears but the video is unstable, check the selected output mode and connection path. Try a supported lower-demand mode as a diagnostic step, and change one variable at a time. When video works but the battery declines, investigate the documented power behavior rather than treating recognition as proof that the computer supplies sufficient power.
Verify audio independently
Choose the intended microphone input in the application. A live video connection does not automatically establish that the camera’s audio is being used. Record a short clip with speech and a visible cue so that you can inspect the selected input and synchronization.
If you use a separate microphone, include it in the same rehearsal and computer connection arrangement. Save the working device selections. This is particularly useful after software updates or when multiple cameras and microphones have similar names in a menu.
Keep a working configuration record
Record the camera model and firmware, streaming mode, cable, computer port, relevant adapter, application and selected output settings. Add the power arrangement and the result of a representative rehearsal. A small note is often enough to avoid repeating the same troubleshooting later.
Label the cable used in the successful setup and keep it with the camera. Replacing it with a similar-looking charging cable can introduce a new variable even when the rest of the equipment remains unchanged.
Before buying new hardware, identify the specific unresolved requirement: unsupported camera function, unsuitable cable, limited connection path, application restriction or inadequate power. Replace the component that addresses that requirement, then repeat the complete setup check. This guide provides a verification process; it does not imply that every camera, computer or application combination is compatible.
Models and complete setups to explore
These researched examples illustrate the decisions in this guide. Check each exact variant, the documented limitations and the equipment it needs.
- Logitech C920s Pro HD Webcam — Black webcam with privacy shutter
- Elgato Facecam MK.2 — Black standalone webcam
- Logitech C920s vs Elgato Facecam MK.2: a complete call setup or a separate streaming rig?
- Streaming camera setup checklist: framing, focus, USB, lighting and audio
Sources & fact-checking
Manufacturer documentation and primary references checked 2026-11-02. Specifications can depend on region, hardware revision and selected bundle.