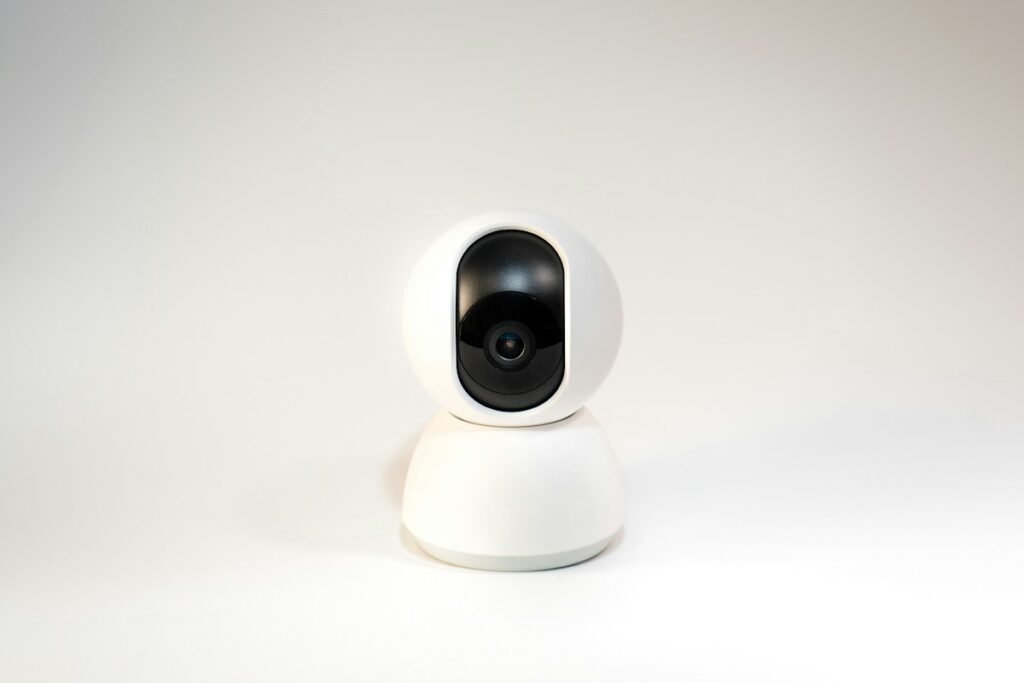
Choose between PoE and Wi-Fi security cameras by planning the installation, not by assuming one label guarantees better footage. Start with each camera location, its available power and the route back to storage. Then identify the recorder, hub or network equipment required by that exact model. The strongest choice is the system you can install, maintain and use reliably in your actual building.
Map the power and data paths separately
PoE means power over Ethernet: a compatible connection carries power as well as network data. Wi-Fi describes the network connection and does not, by itself, mean that the camera runs on a battery. For every shortlisted camera, write one answer for power and another for data. This simple exercise prevents a wireless-network description from hiding a needed outlet or power cable.
Reolink’s network-connection guide illustrates different arrangements for battery cameras, Wi-Fi cameras with Ethernet ports and PoE cameras. Its supported power options are model-dependent; consult the exact product documentation instead of assuming any adapter or injector will work. The camera, power source and recorder form a system.
When a PoE installation deserves a closer look
PoE is worth investigating when you can route suitable Ethernet cable to fixed camera positions and want the associated network equipment in a planned location. Before buying, trace the cable route rather than measuring only the straight-line distance. Include corners, entry points, service access and the path to the recorder or switch. A difficult route can change the project cost more than a small difference in camera price.
Count the ports you need now and the locations you reasonably expect to add. Check the power requirements of the exact cameras against the switch or recorder documentation, including its per-port and total limits where specified. Do not treat a vacant network port as proof that it can power a camera. For any building penetrations or electrical work beyond your experience, include appropriate installation help in the budget.
When Wi-Fi fits the project
Wi-Fi deserves consideration when running a data cable is impractical and the camera location has a suitable documented power arrangement. Check connectivity at the intended mounting position rather than at a convenient nearby table. Put the camera behind the same walls or exterior materials it will actually encounter. A planning test at the final location is more useful than a general claim about wireless range.
If the model uses batteries, compare its recording behavior and charging routine with your intended use. If it uses mains power, include the outlet location and cable route. Solar accessories and battery capacities do not remove the need to check the exact manufacturer’s requirements. Avoid assuming all battery cameras share the same continuous-recording or recorder-compatibility limitations.
Choose the recording system at the same time
The network connection does not determine every recording feature. Decide whether you need camera-mounted storage, a hub or an NVR, then verify the exact relationship. Reolink’s third-party camera guide describes protocol, network and encoding conditions and does not guarantee every third-party combination. A familiar protocol name is a starting point for verification, not a promise that every feature transfers.
Use our compatibility checker when a sourced relationship is available, and read the conditions attached to the function you need. Live video, event detection, audio and playback should not be collapsed into one universal compatible label. If the relationship is not verified, keep it on your research list instead of filling the gap with an assumption.
Plan what happens when internet service stops
A wired connection is not the same thing as an internet connection. Reolink’s offline-operation documentation separates local functions from remote viewing and alerts. Compare your intended local recording and retrieval workflow under the actual outage you care about. Our offline recording guide provides a practical checklist for that decision.
Compare complete costs and maintenance
Put cameras, storage, switches or hubs, power supplies, cable, mounts and installation into the ownership cost planner. Include the items your chosen arrangement actually requires. For ongoing use, consider how you will reach a camera for cleaning, charging, a reset or replacement. An awkward mounting position can make an otherwise capable system inconvenient to maintain.
Your final comparison should name the exact models and describe the full path from camera to saved clip. Choose PoE when its cable and equipment requirements fit the building and project. Choose Wi-Fi when the tested location and power arrangement fit your needs. Either decision should end with the same acceptance check: create a recording, find it, export it and verify the required remote or local access.
Models and complete setups to explore
These researched examples illustrate the decisions in this guide. Check each exact variant, the documented limitations and the equipment it needs.
- Tapo C120 Indoor/Outdoor Camera — US single camera; hardware revision not specified by Amazon listing
- Reolink RLC-810A Two-Camera Pack — Pack of two bullet cameras; lens/hardware revision must be confirmed before variant-specific claims
- Tapo C120 vs Reolink RLC-810A: Wi-Fi or a wired two-camera system?
- Home security camera setup checklist: power, placement, recording and retrieval
Sources & fact-checking
Manufacturer documentation and primary references checked 2026-11-02. Specifications can depend on region, hardware revision and selected bundle.
- support.reolink.com — articles/900000665743 How to Connect Reolink Products to the Network or Internet
- support.reolink.com — articles/360004384713 Guide on Integrating Third Party Cameras with Reolink NVRs
- support.reolink.com — articles/900000599163 Can Reolink PoE Cameras and PoE NVRs Work Without Internet