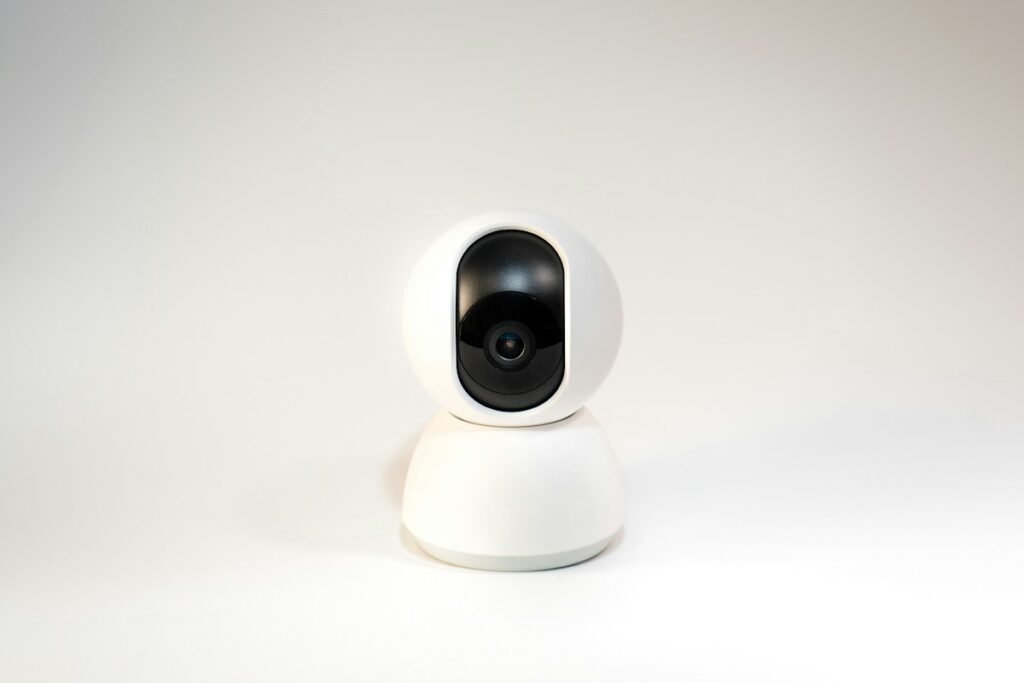
A home camera setup is complete when you can retrieve a useful recording from the place you want to monitor. Seeing a live preview is only the first check. Use this sequence to plan the viewpoint, provide power and data, choose storage and rehearse retrieval before making the mounting permanent.
The Tapo C120 and Reolink RLC-810A illustrate two installation routes. TP-Link documents wired power with Wi-Fi data for the C120; Reolink documents Ethernet and an appropriate PoE or DC power arrangement for the RLC-810A. Follow the exact unit’s manual because hardware revisions and accessory requirements can differ.
1. Define one job for each viewpoint
Write a sentence for every proposed camera: “Show a person approaching the front door” is more useful than “cover the whole property.” Identify the route, object or interaction that matters, the distance involved and the time of day. Decide whether you need a general activity record or recognizable detail at a particular position.
Sketch the view and note likely obstructions. Door swings, parked vehicles and growing plants can change what a camera sees. Consider neighboring spaces and private areas while choosing the framing. A narrower, deliberate view may be more useful than a wide view that includes everything at too small a scale.
2. Trace power and network routes
Locate the actual outlet or planned PoE connection before selecting the mount. Measure the cable route along its safe path, including bends and entry points, instead of measuring straight through the room. Confirm the correct power specification and connector. Do not assume an available adapter is appropriate because it fits.
For a Wi-Fi camera, check connectivity at the final position with doors and other normal obstructions in place. For Ethernet, count the required switch ports and confirm the power arrangement. Protect outdoor connections according to the instructions for every component; the camera’s weather rating does not establish the rating of a nearby socket or power supply.
3. Choose a recording destination
Decide whether footage will be stored on a camera card, an appropriate recorder, a service or a supported combination. Write down what happens if the camera loses power, the network is disconnected or the camera itself is removed. These are different events, and a chosen storage method may address some without addressing all of them.
Check the exact camera’s memory requirements, including format, capacity and any tested-card guidance. TP-Link’s card guidance contains capacity-specific examples, so do not turn one listed card into a claim that an entire product family is certified. Reolink documentation has changed between revisions; use the documentation that matches the delivered unit.
4. Set the account and recording rules
Complete initial setup on a trusted network and install applicable manufacturer updates. Use a strong, distinct account password and enable the account protections offered by the service. Give each camera a location name that will remain understandable when another person needs to retrieve an event.
Choose the recording schedule and event settings intentionally. Decide which events should notify you and which should simply be recorded. If every ordinary movement produces an interruption, the notifications may become difficult to use. Start with a limited set of meaningful alerts and adjust after reviewing what the camera actually captures.
5. Make placement provisional
Before drilling or finalizing adhesive placement, hold or temporarily position the camera safely and inspect its view. Have someone follow the important route while you review a saved clip. Check whether their face or the relevant action remains visible at the point that matters. Repeat after dark because reflections and illumination can change the result.
Review moving footage, not only a still preview. A sharp image of an empty porch does not establish that a moving person will be recognizable. If the result misses your goal, adjust position, angle or lighting and repeat the same route so the comparison is meaningful.
6. Prove retention and export
Use the storage calculator for an initial estimate, then observe the actual recording history. Note the selected mode and any event-only behavior. Retrieve a specific clip from yesterday or the earliest available period, rather than assuming the oldest recording matches the nominal card capacity.
Export a clip to a second device and play it there. Check the date, time, camera name and image. Learn how to preserve an important event before it is replaced by normal recording. If another household member needs access, test the supported sharing process with them.
7. Finish with a maintenance record
Keep a simple record of model, hardware revision, card, installation date and where instructions are stored. Periodically inspect the lens, mount, cables and recording history. Recheck framing after moving furniture, landscaping or seasonal changes. Investigate missing periods instead of assuming a working live view proves that recording is healthy.
Budget the full setup in the ownership cost calculator, including camera count, storage, network equipment and any current service charge. The acceptance standard is concrete: the intended scene is visible, recording occurs as planned, and a useful file can be retrieved when needed.
Manufacturer references: Tapo C120, Reolink RLC-810A and TP-Link memory-card guidance.
Models and complete setups to explore
These researched examples illustrate the decisions in this guide. Check each exact variant, the documented limitations and the equipment it needs.
- Tapo C120 Indoor/Outdoor Camera — US single camera; hardware revision not specified by Amazon listing
- Reolink RLC-810A Two-Camera Pack — Pack of two bullet cameras; lens/hardware revision must be confirmed before variant-specific claims
- Tapo C120 vs Reolink RLC-810A: Wi-Fi or a wired two-camera system?
Sources & fact-checking
Manufacturer documentation and primary references checked 2026-11-02. Specifications can depend on region, hardware revision and selected bundle.