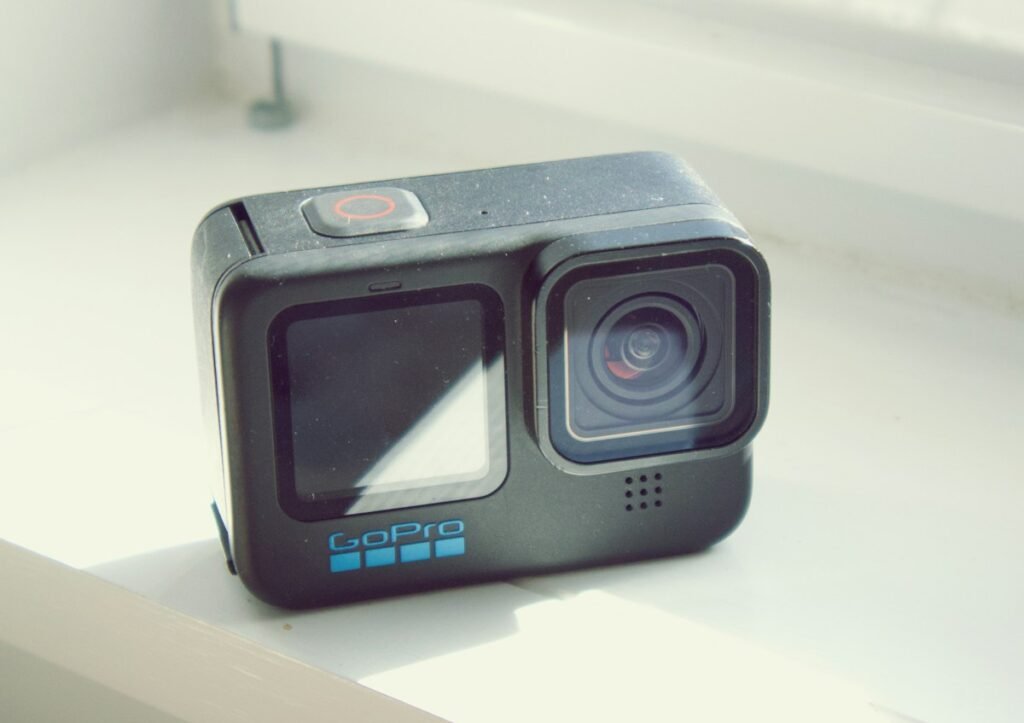
Good action-camera audio starts with deciding what you want to hear. Clear speech from a person, the atmosphere of a location and sound associated with a moving activity are different recording goals. Choose the microphone and connection around that goal, then verify the exact camera’s supported functions. A Bluetooth label or USB-C connector alone does not establish that a microphone will record as expected.
Choose the important sound first
For spoken narration, think about where the speaker will be relative to the microphone. For ambient sound, decide whether you want a natural sense of the surroundings or a more controlled result. For a two-person conversation, plan whether you need each voice separately during editing. These questions are more useful than choosing a microphone only because it appears in a popular camera bundle.
Make a short test recording in the kind of environment you expect to use. Listen through suitable headphones before committing to a long session. A visible recording indicator does not tell you whether clothing noise, wind, handling sounds or the wrong input has affected the result. Change one part of the setup at a time so you can identify what improved it.
Verify the exact connection method
Manufacturers may support a microphone through a receiver, an adapter, a direct cable or a specific wireless pairing method. DJI’s Mic 2 FAQ lists supported device arrangements, while its microphone connection guide explains camera-specific methods. Match the microphone, camera and connection rather than assuming all products in either family behave alike.
Record the required adapter or receiver on the shopping list. Check whether the cable needs to carry the required audio signal rather than merely supply power. If an accessory has its own battery or firmware, include that in the operating routine. A compact transmitter-only purchase is useful only when your camera supports the intended direct connection.
Check firmware and supported features
Compatibility can be added or changed through documented firmware updates. For example, DJI’s Action 5 Pro release notes document added microphone support. Use the current instructions for your actual camera and microphone firmware. Do not assume a demonstration made with a different version proves that an unopened device is ready for the same workflow.
Check the number of simultaneous transmitters, gain control, start/stop control and available backup options separately. A connection that passes audio may not provide every control you expect. Our compatibility checker treats these as function-specific relationships and keeps unverified combinations visibly unknown.
Understand which microphone the camera records
Connecting an external microphone can change the active audio source. Insta360’s X-series microphone documentation distinguishes model-specific connection support, audio-source priority and dual-track behavior. Check those rules before assuming that the built-in microphones continue recording a safety track alongside an external source.
Also distinguish two audio channels from two independent recordings. If you need to adjust two speakers separately, verify what the camera actually saves and how your editing software exposes it. If a transmitter can record internally, check whether that feature is enabled and how you will retrieve and align the file. Do not discover after an important recording that a backup function was only an unconfigured capability.
Match processing to the sound you want
Noise reduction and voice-focused settings can serve a different purpose from preserving ambient sound. Insta360’s audio-mode guide describes model-dependent options for wind, voices, stereo and 360 recording. Choose from the modes actually available on your camera, and listen to a comparison before making one the default for every activity.
Use placement and appropriate physical wind protection as part of the test, while checking that an accessory does not obstruct the lens or controls. Avoid assuming that the strongest processing setting always gives the most useful result. Your aim is the sound needed for the finished video, which may include the environment rather than only the speaker.
Check the complete physical setup
Look at the camera with the cable, adapter, microphone and mount attached. Check strain, visibility in the frame and access to the controls. For 360 footage, inspect the complete view rather than only the angle currently shown on the screen. If the setup will encounter water, follow the exact camera and accessory instructions; opening a port can change the arrangement required for water protection.
Read our waterproofing guide before combining audio accessories with underwater use. Finish with a repeatable pre-recording check: correct input, intended levels and processing, sufficient power, available storage and a playable test clip. The right microphone setup is the one that supports your specific recording goal and can be verified before the moment you need to capture.
Models and complete setups to explore
These researched examples illustrate the decisions in this guide. Check each exact variant, the documented limitations and the equipment it needs.
- DJI Osmo Action 5 Pro Standard Combo — Standard Combo with one battery; not Adventure Combo
- Insta360 X4 Standard Bundle — Standard bundle without microSD card
- DJI Osmo Action 5 Pro vs Insta360 X4: conventional footage or 360 capture?
- Action camera recording setup: choose the mode, mount and export before the trip
Sources & fact-checking
Manufacturer documentation and primary references checked 2026-11-02. Specifications can depend on region, hardware revision and selected bundle.