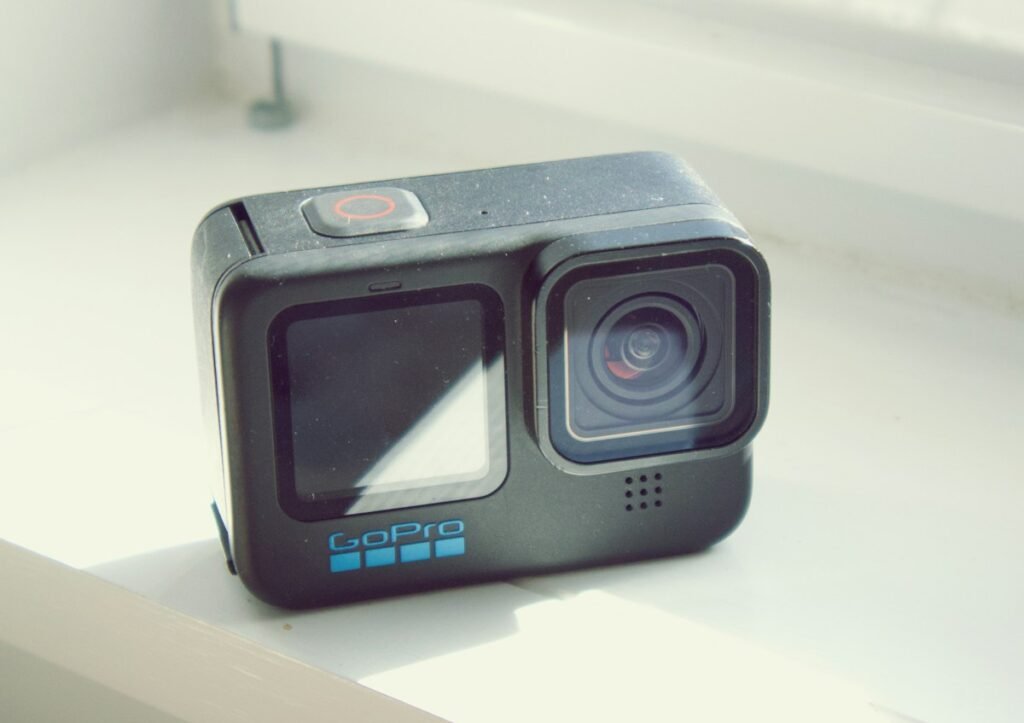
Prepare an action camera around the video you want to bring home. The finished clip determines the capture mode, and that mode affects the card, battery plan and editing workflow. A short rehearsal before the trip is the easiest place to discover an unsuitable mount or an export your computer cannot handle.
The DJI Osmo Action 5 Pro Standard Combo and Insta360 X4 Standard bundle illustrate different workflows. DJI offers conventional framed action capture; X4 adds a 360 workflow that lets you reframe later. The selected DJI package has one battery, and the selected X4 package does not include a microSD card. Verify your actual box contents before planning the day.
1. Define the finished shot
Decide whether you need ordinary landscape footage, a vertical clip, slow motion or a reframed 360 sequence. Identify the main subject and how predictably you can point the camera toward it. If you can frame the important action in advance, a conventional recording may keep the workflow straightforward.
If choosing the view later is valuable, plan for 360 editing. Remember that X4’s advertised 8K 360 mode covers the whole sphere; a reframed view uses part of that image. Evaluate a sample at the actual crop and export size instead of assuming the spherical recording resolution becomes the resolution of every flat result.
2. Select one recording mode deliberately
Choose resolution, frame rate and related settings for the finished clip. Start with one primary mode and record its settings. Higher numbers are useful only when they support the intended output. Special modes can have different limitations, so do not assume that maximum frame rate, tracking and every processing feature work together.
Check the manufacturer’s requirements for the chosen mode. Record a brief sample with motion and review it on the device you will use for editing. Inspect both the view and the sound. A smooth preview on the camera is not proof that the files will transfer and edit comfortably in your intended workflow.
3. Prepare the memory and power
Choose a supported card series, speed class and capacity, then format it according to the camera’s instructions after backing up any needed files. Insta360 documents UHS-I V30 and exFAT requirements for X4. A capacity below the stated ceiling is only one part of compatibility.
Estimate storage using the actual mode’s bitrate in the storage calculator, then compare that estimate with sample files. Plan when you can offload footage. Keep a protected copy before reformatting a card for another day’s recording.
Charge the correct batteries and confirm how you will recharge them. Manufacturer runtime figures depend on particular modes and conditions; they do not guarantee a full day at your chosen setting. Test a representative session if uninterrupted recording matters, and record enough information to understand the result.
4. Fit the mount to the activity
Confirm that the camera, adapter and mount are compatible and appropriate for the activity. Follow the mount’s installation and load guidance. Check the camera’s view from the actual wearing or riding position while safely stationary, not just while the assembly sits on a table.
Make sure the equipment does not interfere with movement, controls or protective equipment. If a retention accessory is appropriate, follow the relevant equipment instructions. Avoid improvising a mounting method for a demanding activity merely because it appears secure indoors. Recheck the attachment before use and after any impact.
5. Inspect lenses and closures
Clean optical surfaces with the method recommended for the equipment. On a 360 camera, inspect both lenses and any fitted guards, because a mark on either can affect the recorded scene. Verify that a cover or accessory is suitable for the intended recording mode and environment.
For water use, read the complete sealing conditions and case guidance. DJI’s published depth ratings depend on correctly secured components, and its guidance recommends a waterproof case for some prolonged or high-impact uses. Treat each camera, case and mount as a separate item with its own conditions; do not transfer one component’s rating to the whole setup.
6. Rehearse the entire file workflow
Record a short sequence that resembles the planned activity without creating a hazard. Transfer it, make the intended crop or reframe, add any necessary audio treatment and export the finished clip. Review the exported file for horizon, framing, detail and sound. Time the workflow so you know whether it fits the trip.
For 360 footage, practice choosing views and transitions before accumulating many files. Keep original recordings until the exported result has been checked and backed up. Name folders by date and activity so similar clips remain easy to locate.
7. Pack around the verified setup
Pack only the accessories with a clear role: tested mount, required card, correct charging equipment, cleaning supplies and any justified spare. Keep a short settings note and confirm that the camera starts in the intended mode. The goal is a repeatable sequence from mounting to export, not the largest collection of attachments.
Manufacturer references: DJI specifications, X4 specifications and Insta360 editing guidance.
Models and complete setups to explore
These researched examples illustrate the decisions in this guide. Check each exact variant, the documented limitations and the equipment it needs.
- DJI Osmo Action 5 Pro Standard Combo — Standard Combo with one battery; not Adventure Combo
- Insta360 X4 Standard Bundle — Standard bundle without microSD card
- DJI Osmo Action 5 Pro vs Insta360 X4: conventional footage or 360 capture?
Sources & fact-checking
Manufacturer documentation and primary references checked 2026-11-02. Specifications can depend on region, hardware revision and selected bundle.