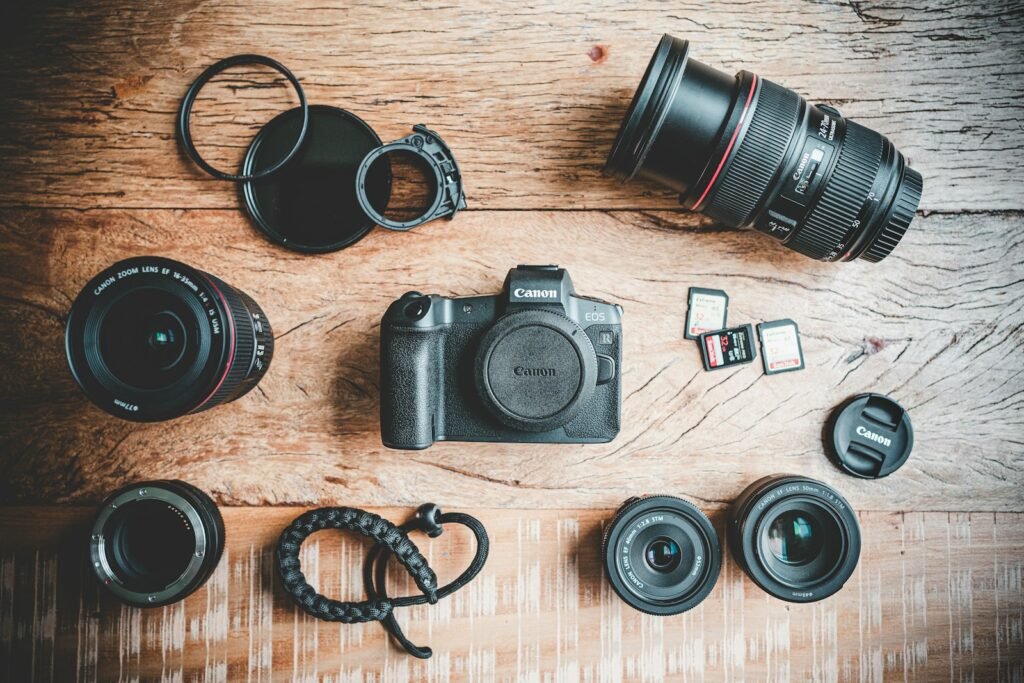
A useful tabletop setup produces consistent images of the products you actually sell or document. Start with a repeatable view and controllable light. Select the camera, lens and accessories around those requirements instead of expecting a higher-resolution body to fix reflections, an unstable support or inaccurate color.
For a concrete starting point, our Canon EOS R50 destination includes the RF-S 18–45mm kit lens, while our Sony ZV-E10 II destination is body only. The Sony therefore needs an appropriate E-mount lens. This guide is an editorial setup workflow, not a report of hands-on tests with those products.
1. Write the shot list before buying
Choose representative products: the smallest item, the largest item and the most reflective or difficult surface. List the images each needs, such as a whole-product view, scale reference, label, important detail and packaging. Decide whether those images will become a web listing, print material or both.
Note the final crop and background requirements. A square listing image, a wide banner and a close detail may need different framing. Leave enough room around the subject for the intended crop without making the product so small that the relevant details become difficult to inspect.
2. Make the equipment list complete
Include a compatible body and lens, an appropriate memory card, reliable power, stable support, background material and controllable lighting. If you already own a usable item, test it before replacing it. A simple setup that can be repeated is more valuable than a collection of accessories with unclear roles.
Keep lens systems explicit. Canon RF lenses belong to compatible Canon RF bodies; Sony E-mount bodies require an appropriate lens for that mount. An adapter is a separate compatibility question. The compatibility checker can organize the questions, but verify the actual combination in manufacturer documentation before ordering.
3. Solve framing and close focus
Place the product and camera where you can work comfortably, then check the smallest necessary detail. Change distance and focal length deliberately while watching the shape of the object and the available background. Mark a successful camera and subject position so you can reproduce it for similar products.
If a closer view is required, inspect the lens’s focus and magnification specifications. Canon documents a 0.5× maximum magnification for its RF 35mm F1.8 Macro IS STM. That is half life size, not 1:1, and its minimum focus distance is not the clearance from the lens’s front to the product. It is a compatible-system option to evaluate, not a universal accessory for every camera.
4. Make the light explain the surface
Begin with one controllable light direction and inspect the result. Move the light or diffusion to change how highlights describe the object’s shape. A reflective item may show the surroundings more strongly than expected, so simplify what the product can reflect and evaluate the image after each change.
Use a plain background that provides enough separation for the product. Check edges, dust and unwanted reflections before photographing an entire batch. Avoid changing several things at once: adjust one light position, take a sample, then compare. This makes the improvement repeatable rather than accidental.
5. Stabilize the view and check focus
Secure the camera and subject. Choose camera settings that fit a stationary subject and your lighting, then examine a saved image at a useful magnification. Check the nearest and farthest details that must appear clear. A sharp front label does not prove that a deep product is adequately in focus throughout.
Use the camera’s supported focusing and exposure controls to make the result repeatable. If you change the camera angle, subject distance or aperture, check again. Record the successful arrangement with a quick setup photo and notes so another session can reproduce the same scale and light direction.
6. Keep color and editing consistent
Review white balance and exposure with the same lighting used for the batch. If color accuracy matters to the product, use a suitable reference and a consistent editing workflow. Do not describe a finish differently from how it actually appears just because a dramatic edit looks attractive.
Clean up the presentation without altering meaningful product details. Preserve an original file and save editing decisions separately where your software permits. Export a sample at the destination’s required size, then inspect that exported file for readable text, edge quality and the intended background. The editing preview is not the final deliverable.
7. Rehearse a complete small batch
Photograph several representative products, transfer the files, select the final views and export them with useful names. Check consistency side by side. If one object requires a different setup, document that exception instead of forcing it into a view that obscures important details.
Only then decide what equipment is missing. A closer-focusing lens may solve a real framing limit; another light may solve a particular reflection problem. Enter justified additions in the ownership cost calculator and keep the successful starting setup intact.
Manufacturer references: Canon R50 kit, Sony ZV-E10 II body and Canon RF 35mm Macro.
Models and complete setups to explore
These researched examples illustrate the decisions in this guide. Check each exact variant, the documented limitations and the equipment it needs.
- Canon EOS R50 with RF-S 18–45mm Lens — Black RF-S18-45mm F4.5-6.3 IS STM lens kit
- Sony ZV-E10 II Body — Black body only; no lens
- Canon EOS R50 kit vs Sony ZV-E10 II body: build the camera you actually need
Sources & fact-checking
Manufacturer documentation and primary references checked 2026-11-02. Specifications can depend on region, hardware revision and selected bundle.