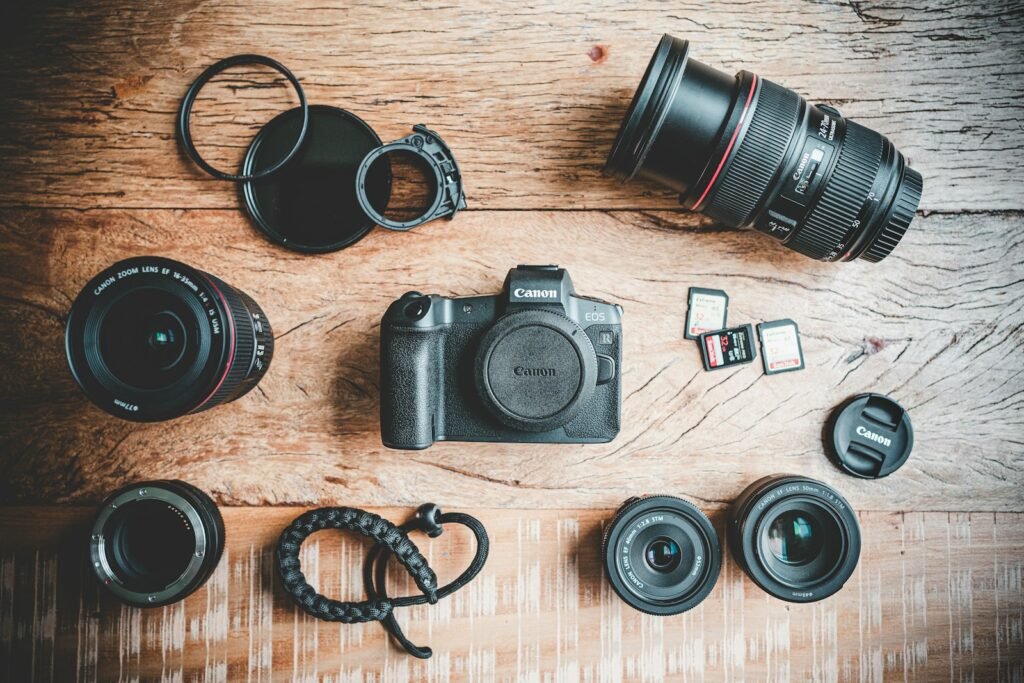
A useful product-photography setup makes it easy to show what the buyer is actually getting. That means clear shape, readable labels, accurate-looking color, useful detail and honest condition photographs. Start with the size and finish of your products, the images your listings require and the space you have to shoot. The camera body is one part of that workflow; the lens, lighting and repeatable setup deserve equal attention.
Test the equipment you already own
Before replacing a camera, photograph one representative product under controlled conditions. Choose something with the difficulties you encounter most often: reflective packaging, tiny lettering, dark paint or a small detail you need to show. Make a full-product image and a close detail, then inspect them at the size customers will use. Identify the actual problem instead of assuming a new body will fix every weak photograph.
If the entire product fits but small lettering cannot be photographed closely enough, the lens may be the more relevant limitation. If the shape disappears into harsh reflections, changing the lighting may help more. If a series of similar products looks inconsistent, improve the repeatable setup before concentrating on a resolution upgrade.
Choose the lens for the product size
Check the lens’s maximum reproduction ratio, minimum focus distance and working room around the subject. An ordinary product shot and a close image of a tiny casting mark are different tasks. Canon’s macro explanation shows why maximum magnification is more informative than the word macro alone. Read our macro versus close-focus guide before buying a specialist lens.
For collectible cars, model kits, jewelry or small parts, plan separate views for the whole item and its identifying details. Do not make every photograph an extreme close-up. Buyers also need to understand the product’s overall shape and what is included. Check the camera and lens mount before deciding that a lens is a suitable upgrade.
Look for controls that support a repeatable session
Useful requirements can include manual exposure, a reliable way to set focus, RAW capture and remote operation. Decide which ones solve a real workflow problem. For example, Sony’s Imaging Edge Desktop supports remote shooting and RAW work with compatible cameras. That does not mean every Sony body supports the same tethering functions; check the exact camera and computer requirements.
A larger preview can help you inspect label placement and focus before moving to the next item. A remote release or delayed shutter can help keep a fixed composition consistent. Add these to your shortlist only with their necessary cables, software and power arrangement, so the workflow does not depend on an accessory omitted from the original budget.
Build a small, repeatable lighting area
Use a stable background and make room to adjust the light relative to the product. For a glossy diecast car or clear blister, watch the reflection itself: moving a light, diffuser or white card changes what the surface reflects. Try one change at a time and compare the results. Preserve useful edges and surface information rather than making the item look unnaturally flat.
Canon’s product-photography guidance discusses RAW capture, low ISO, tripod use and smaller apertures as practical starting points. Treat a suggested aperture as a place to test, not a universal setting. The depth you need, subject angle, lens and intended output all affect the result. Check the front and back of the product in the actual image rather than assuming the chosen f-number guarantees both are sharp.
Create a shot list that answers buying questions
For a physical listing, consider a clean main image, the opposite side, a view showing depth, identifying labels or markings, included accessories and any relevant condition detail. For a boxed item, distinguish the packaging view from the item itself. For a set, show the actual contents clearly. This is an editorial checklist you can adapt; marketplace image requirements should also be checked for the destination where you publish.
Do not crop away information needed to distinguish variants. Keep orientation consistent across the listing, and avoid mirroring text or identifying marks. If you edit backgrounds or color, compare the result with the item and preserve honest condition information. A clean photograph should make the purchase easier to understand.
Budget for the complete workflow
Compare the body and lens together with a stable support, lighting, background, storage and any required tethering equipment. Use the cost planner for your own estimates; it does not load live camera prices. Choose a setup that you can leave arranged or reproduce quickly when another product arrives.
Finish the buying decision by describing the photographs the setup must produce and testing that workflow with a representative item. A camera is worth upgrading when its documented capabilities address a demonstrated limitation. The goal is a consistent set of informative listing images, with a clear route from capture to edited files and the correct product page.
Models and complete setups to explore
These researched examples illustrate the decisions in this guide. Check each exact variant, the documented limitations and the equipment it needs.
- Canon EOS R50 with RF-S 18–45mm Lens — Black RF-S18-45mm F4.5-6.3 IS STM lens kit
- Sony ZV-E10 II Body — Black body only; no lens
- Canon EOS R50 kit vs Sony ZV-E10 II body: build the camera you actually need
- Tabletop product photography setup: repeatable images from a complete camera kit
Sources & fact-checking
Manufacturer documentation and primary references checked 2026-11-02. Specifications can depend on region, hardware revision and selected bundle.