A camera can work correctly and still return disappointing pictures when its position does not match the subject. Good placement begins with the route the subject takes, the usable view and the camera’s documented detection behavior. A successful setup also makes it easy to confirm the result before leaving the location.
Choose a purpose for each position
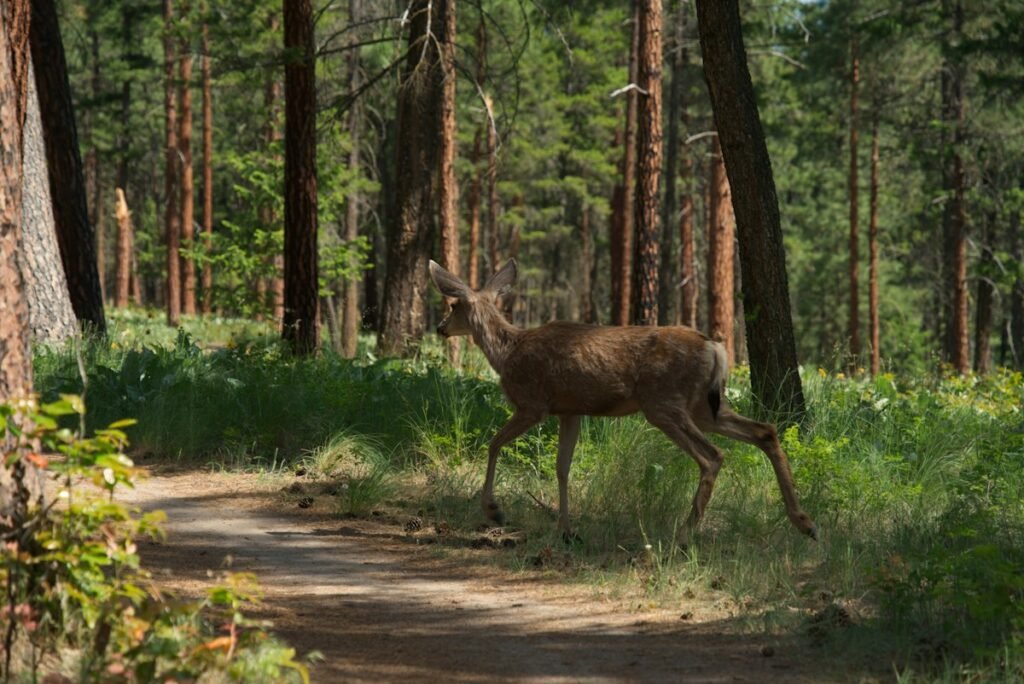
Decide whether you want a broad record of activity, a useful view of an animal on a path or a clear picture of a particular entrance. Write down the subject’s likely direction of travel and approximate size. A camera positioned for deer should not automatically use the same height and framing as one intended for small animals close to the ground.
Look for a stable mounting point with a workable view of that route. Consider where the subject first enters the scene, how long it remains visible and what could block it. Choose the position for the image you need rather than the nearest convenient tree.
Use the exact model’s placement instructions
Manufacturer guidance can differ. Browning’s placement guide discusses adapting height and angle to the subject. Moultrie’s EDGE 4 instructions describe a particular relationship to the terrain and trail. Avoid turning one model’s recommended angle or distance into a universal rule.
Use those instructions as a starting point, then inspect actual captures. If the camera clips part of the animal or leaves the important area at the edge of the frame, adjust the position and repeat the check. A small change may help more than choosing a different sensitivity setting.
Inspect the whole scene for obstructions
Examine the area directly in front of the lens and the wider area that can move into view. Nearby leaves, long grass and a flexible mounting branch may behave differently when wind arrives. Make sure the camera is firmly mounted and that its strap or accessory does not obstruct the lens or lighting.
SPYPOINT’s false-trigger guidance discusses vegetation, mounting and sensitivity. Adjust the site only where you have permission and where doing so is appropriate. Often the simpler answer is moving the camera to a clearer viewpoint.
Check the sun and the night view
Consider where the sun will be at the times you expect activity. A view that looks clear during setup may face strong glare at another time of day. Manufacturer recommendations to avoid direct sunrise or sunset are useful, but the actual terrain and target still determine the final choice.
Also plan a night check. Review whether the subject is lit usefully, whether nearby objects dominate the image and whether the relevant part of the scene is too distant. A night-illumination distance in a specification is not a guarantee that every subject at that distance will show the detail you want.
Separate camera direction from solar-panel direction
If the setup includes solar power, evaluate both the recording view and the panel’s exposure. An integrated panel constrains the relationship between them. An external panel may provide more placement options, subject to compatible hardware, cable length and the installation instructions.
SPYPOINT’s FLEX setup guidance provides separate placement and sunlight instructions for relevant models. Check the equivalent documentation for your camera rather than assuming that a good wildlife view automatically gives the panel a useful charging position.
Test capture and delivery separately
Walk through the intended detection area in the directions that matter, using the manufacturer’s setup procedure. Inspect the recorded image instead of relying only on an indicator light. If the camera is cellular, confirm that a new image reaches the correct account before you leave.
If a test does not appear remotely, determine whether the camera captured it locally. That distinction separates a placement or triggering issue from a connection, service or account issue. Change one part of the setup at a time so you can understand which adjustment helped.
Record the arrangement and refine it from evidence
Save a context photograph of the installation and note the target area, approximate distance, relevant settings, power arrangement and test result. Use a meaningful camera name that identifies the location. Those notes are especially helpful when several similar devices are deployed.
Review the first useful set of captures for repeated empty frames, clipped subjects and unwanted glare. Adjust according to the observed problem. Lowering sensitivity without examining the view may hide the symptom while also missing subjects you care about. A well-documented position lets you refine the setup deliberately and repeat a successful arrangement elsewhere.
Models and complete setups to explore
These researched examples illustrate the decisions in this guide. Check each exact variant, the documented limitations and the equipment it needs.
- SPYPOINT FLEX-M Four-Camera Pack — Pack of four cameras; camera-only Amazon selection
- Browning Strike Force Pro X 1080 — Camo standalone non-cellular camera
- SPYPOINT FLEX-M vs Browning Strike Force Pro X 1080: cellular updates or card collection?
- Cellular trail camera setup: activate, place and maintain each camera
Sources & fact-checking
Manufacturer documentation and primary references checked 2026-11-02. Specifications can depend on region, hardware revision and selected bundle.